Wednesday 14 November 2018

The Top Floor and attic space.

As I moved onto the top floor area of this lovely three dimensional property I knew it was always going to pose a little bit of a dilemma for me. The joy of the three dimensional aspect which so attracted me to it, at the same time gives me challenges as I go along. But none that I haven't been able to overcome thus far.
As I was sure that I didn't want the stairs opening up into the larger room, which was how it was originally configured, I needed to be able to make a separate landing and two rooms like on the floor below, so as is usual for me, I set about working out how to do it....
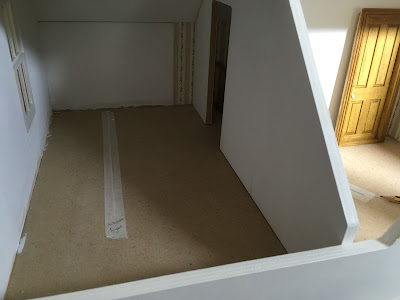
These first few pictures show the original layout with the stairs coming up into one big room with one door leading into a small bedroom.

As you can see from this next picture I have continued on up with the wallpaper the same as the landing below and laid the electrics for the floor below. 


I've painted the dividing wall


and made and painted another wall to make the division for the new landing and now smaller sewing room.


The new layout prior to being glued in position


This is the view along the landing from the bedroom doorway. 


The bedroom


Chimmney breast added. I've grooved along the floor to add the wires for the two fires in these rooms


This smaller room will now become the sewing room


The sewing room with chimney breast being installed. I thought it would be easier doing this before the other wall went up!


Here you can see the stairs coming up from the floor below. 


All this landing area had to be decorated, flooring laid and lighting added before I could glue in the dividing wall.


Skirting board all added now


Sewing room now wallpapered


Bedroom 


View along the new landing again....


And from the other end of the landing looking into the bedroom at the end. I love the way this view gives the feeling of it being a real house!


So now we have the top floor complete! The attic can wait until another day....


A few more photos...


Window Dressing!

I thought it was about time the windows had something on display....I bought some cheap manequins and painted them up, printed out and made up some hat boxes which were fun to do. I also made up other various boxes. The little shoes were made of white metal which I painted. As this property resides in the living room it looks much better seeing something in the windows. I'm quite happy with the result! 


Overdue new photos update!

It's nice to be able to take some new photographs and give an update so here we are ...
I was so happy to find some beautiful shop fittings awhile ago now but because Blogger no longer supports mobile phones/tablets I've had to find a way around getting my photos onto the laptop! I don't know why they've done this. Why fix something that isn't broken as the saying goes...? I had gotten so used to using my tablet to update as it was so easy and convenient., so this has been such a nuisance. Anyway I've figured it out at last and now have a load of photographs to bring all my blogs up to date!

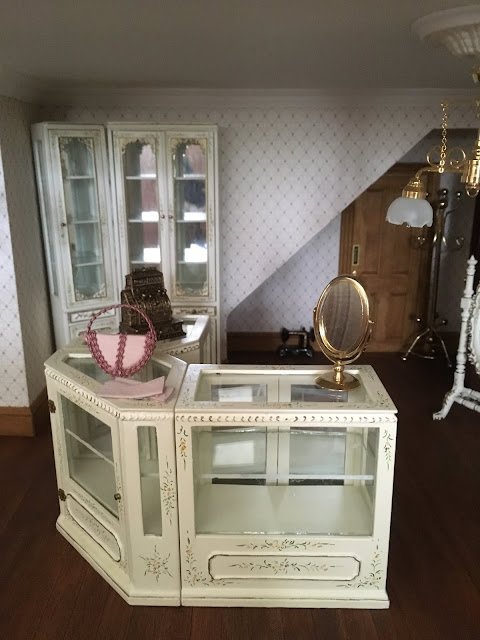
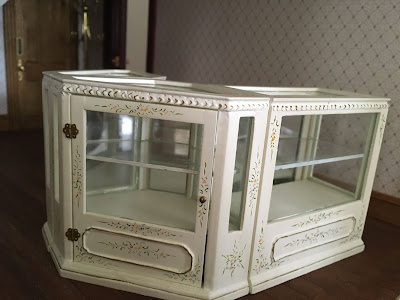
This set of photos show the new shop fittings. I'm still not sure which way round to display them and may need another one yet....


I also bought a couple of lovely dolls...


Monday 24 September 2018

An update!

I know it has been a long time since I updated this blog and there has been a few changes to my Empire Stores since then. I've also been working on some other projects inbetween times....
After a visiting a lovely couple of fairs I was able to buy a few needed supplies including some beautiful Maggie Sue Dolls and the fittings for the shop! But first I want to show you my beautiful sewing cuboard…


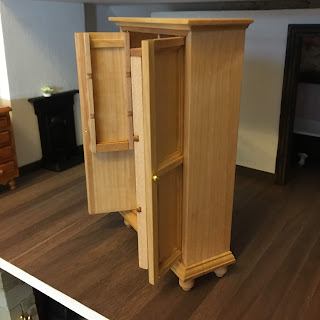
This sewing cupboard began life as a basic, barewood piece. It was very rough so needed lots of sanding down


It already had shelves and I went on to add lots of little compartments so it would be able to store lots of sewing essentials


I used pieces of dowel, and many oddments of wood from my stash of leftovers!


Making lots of nooks, crannies and drawers!


Then I sanded and gave it a light coat of satin varnish


As you can see there is lots of space to add all things needed for my sewing room!


All filled!


And labels to find things easily....


And here it is in my sewing room...