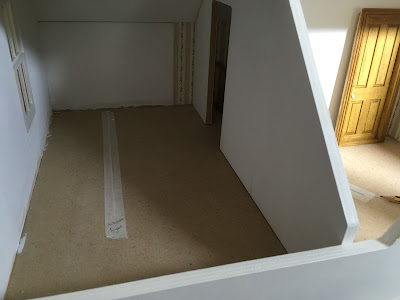
As I was sure that I didn't want the stairs opening up into the larger room, which was how it was originally configured, I needed to be able to make a separate landing and two rooms like on the floor below, so as is usual for me, I set about working out how to do it....
These first few pictures show the original layout with the stairs coming up into one big room with one door leading into a small bedroom.
As you can see from this next picture I have continued on up with the wallpaper the same as the landing below and laid the electrics for the floor below.
I've painted the dividing wall
and made and painted another wall to make the division for the new landing and now smaller sewing room.
The new layout prior to being glued in position
This is the view along the landing from the bedroom doorway.
The bedroom
Chimmney breast added. I've grooved along the floor to add the wires for the two fires in these rooms
This smaller room will now become the sewing room
The sewing room with chimney breast being installed. I thought it would be easier doing this before the other wall went up!
Here you can see the stairs coming up from the floor below.
All this landing area had to be decorated, flooring laid and lighting added before I could glue in the dividing wall.
Skirting board all added now
Sewing room now wallpapered
Bedroom
View along the new landing again....
And from the other end of the landing looking into the bedroom at the end. I love the way this view gives the feeling of it being a real house!
So now we have the top floor complete! The attic can wait until another day....


No comments:
Post a Comment