I thought it was about time the windows had something on display....I bought some cheap manequins and painted them up, printed out and made up some hat boxes which were fun to do. I also made up other various boxes. The little shoes were made of white metal which I painted. As this property resides in the living room it looks much better seeing something in the windows. I'm quite happy with the result!
Wednesday, 14 November 2018
Overdue new photos update!
It's nice to be able to take some new photographs and give an update so here we are ...
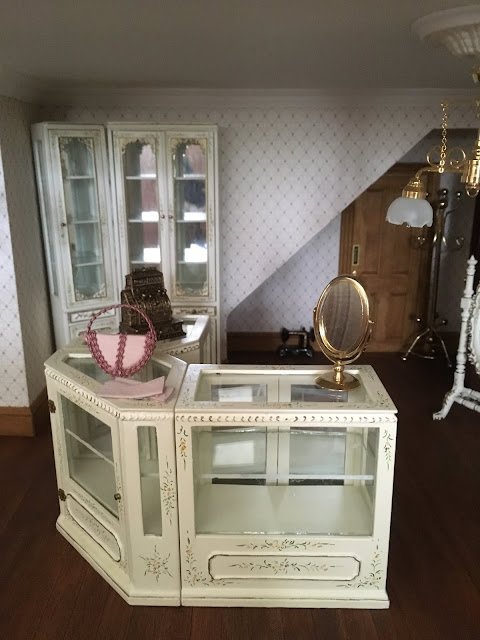
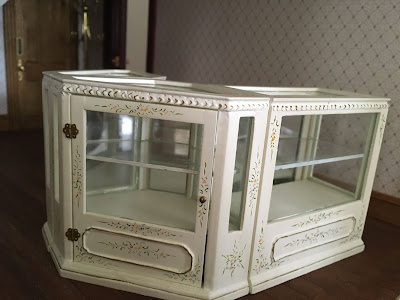
I was so happy to find some beautiful shop fittings awhile ago now but because Blogger no longer supports mobile phones/tablets I've had to find a way around getting my photos onto the laptop! I don't know why they've done this. Why fix something that isn't broken as the saying goes...? I had gotten so used to using my tablet to update as it was so easy and convenient., so this has been such a nuisance. Anyway I've figured it out at last and now have a load of photographs to bring all my blogs up to date!
This set of photos show the new shop fittings. I'm still not sure which way round to display them and may need another one yet....
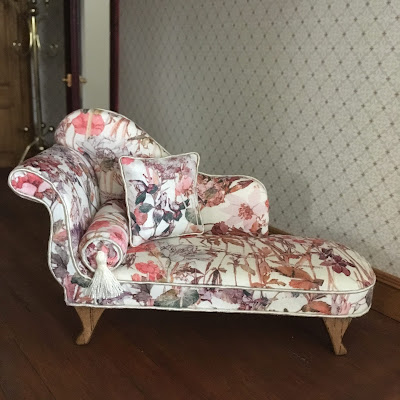
I also bought a couple of lovely dolls...
Monday, 24 September 2018
An update!
I know it has been a long time since I updated this blog and there has been a few changes to my Empire Stores since then. I've also been working on some other projects inbetween times....
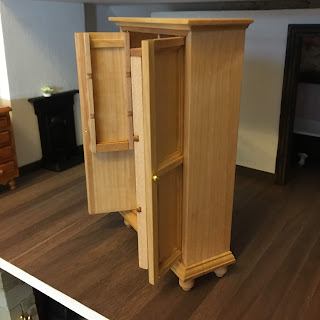
After a visiting a lovely couple of fairs I was able to buy a few needed supplies including some beautiful Maggie Sue Dolls and the fittings for the shop! But first I want to show you my beautiful sewing cuboard…
After a visiting a lovely couple of fairs I was able to buy a few needed supplies including some beautiful Maggie Sue Dolls and the fittings for the shop! But first I want to show you my beautiful sewing cuboard…
This sewing cupboard began life as a basic, barewood piece. It was very rough so needed lots of sanding down
It already had shelves and I went on to add lots of little compartments so it would be able to store lots of sewing essentials
I used pieces of dowel, and many oddments of wood from my stash of leftovers!
Making lots of nooks, crannies and drawers!
Then I sanded and gave it a light coat of satin varnish
As you can see there is lots of space to add all things needed for my sewing room!
All filled!
And labels to find things easily....
And here it is in my sewing room...
Sunday, 5 March 2017
Patience, patience.
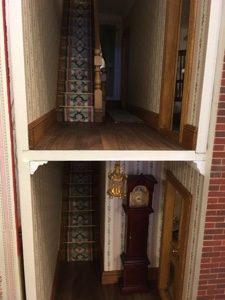
Sometimes patience is tested to the limit doing certain jobs.....dolls houses and miniatures do require quite a supply of it and I am lucky in that I do have a good deal, however whilst adding stair rods of the tiny variety even I was in danger of losing it. In fitting the stair carpet I managed to dislodge my carefully glued spindles and newels (they're another trying job) so they will have to be replaced - another lesson learned there!
But as you can see it's all worthwhile when you see the end result....they do finish off the stairs beautifully. They were quite tricky as my embroidered carpet is abit thicker than most.
All the spindles stuck in place again. I stitched a small runner for along the landing too.
I just need to find some suitable pictures for the wall I think...
This is a view of both sets of stairs
Tuesday, 24 January 2017
The Parlour
The parlour is alongside the kitchen and has one door leading into the landing. It is a nice square room, not particularly large but I think I've enough space for some nice pieces of furniture.
Before I could begin decorating in here I had to connect up the shop light from below as the wire needed to go under the parlour/landing wall.
Here you can see I've also put in the wiring ready for the fire and the range in the kitchen which is behind this wall.
Monday, 23 January 2017
Belated New Year Greetings!
We're into the third week of January already and I've been too busy to blog! Quite a bit more progress to show you. After Christmas I got to work on the kitchen. I thought it was high time I got some wallpaper on the walls and the flooring laid.
Here they are 'in situ'.....
The flooring is a lovely patterned paper
Skirting and cornice added
I chose a nice Ray Storey light for in here
A glimpse through the window
As this room is quite small and narrow I knew that ready made fittings would swamp the space so I decided to have a go at making my own. Now I'm not the best woodworker and have a love/hate relationship with saws and glues which are both important in any furniture making attempts! I bought the sink and taps and after playing around with some bits of wood, I have come up with a sink unit!
It's maybe a little wonky in parts but I'm happy enough with it.
Spurred on with my little sink unit success, I decided to carry on and make something else! The obechi wood I have used was quite easily cut and scored with a scalpel so I didn't need to saw anything. I've made the doors non opening ones for simplicity. Next up is a little cupboard unit.
Here they are 'in situ'.....
Then I made a little open shelf and another base unit.
Finally I made a larger shelving unit.
I feel I've come to a full stop with the kitchen for now, other than adding all the little accessories....
I don't really think I can fit a table in but I'm leaving it for awhile and I will take a fresh look at it after I've got some of the other rooms decorated.
Subscribe to:
Posts (Atom)


